Dou Dou (豆豆)
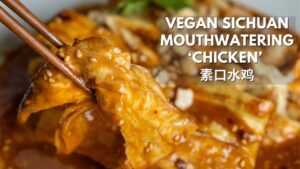
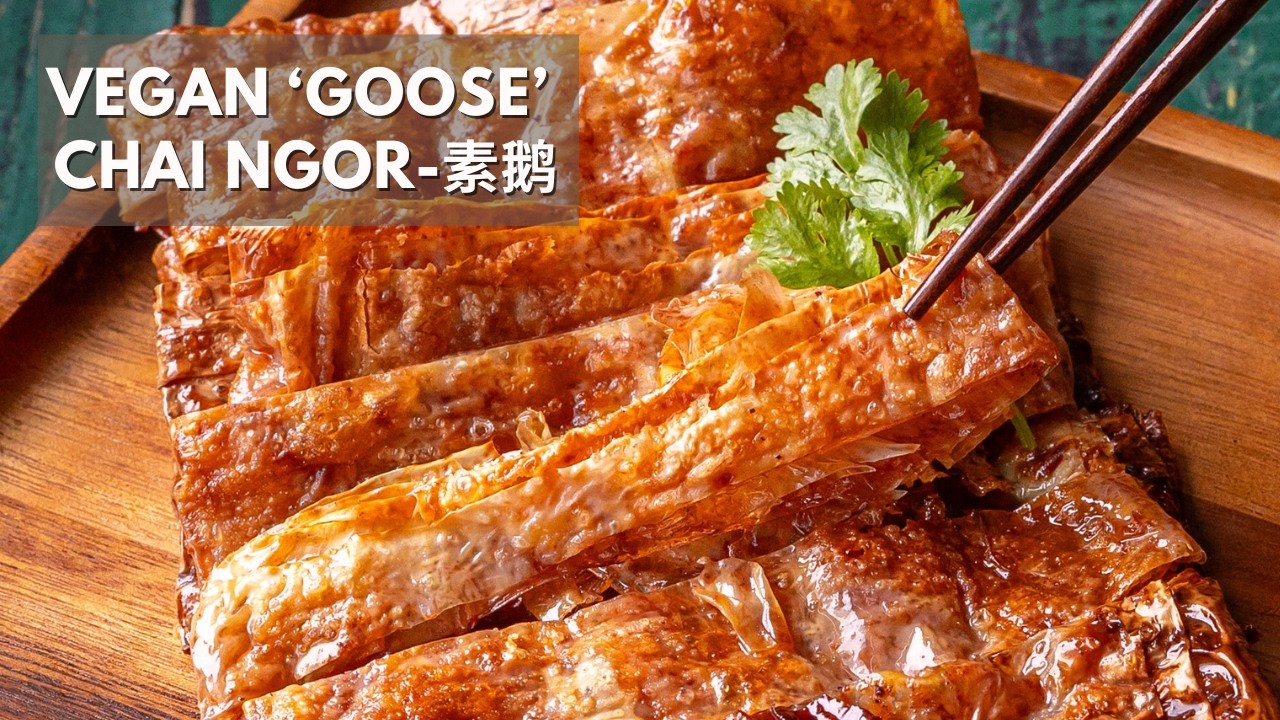
Layered tofu skin pouch steamed then crisped until golden — this Vegan Goose, known as Chai Ngor (斋鹅) or Su Er (素鹅), brings back the nostalgic taste of Malaysian vegetarian economy rice stalls right to your kitchen. 层层豆腐皮抹上酱料后蒸制再煎至金黄——这道素鹅(斋鹅)带你重温马来西亚素食杂饭摊的经典味道。
📹 Watch the Recipe
Recipe by WoonHeng
🥘 Why This Recipe Works
Chai Ngor (斋鹅) literally means ‘vegetarian goose’ in Cantonese — a name that hints at the prized texture of layered tofu skin that mimics the richness of roasted meat without any animal products. This dish has been a staple at Buddhist temple vegetarian halls and Malaysian economy rice stalls for generations, loved for its savory-sweet umami flavor and satisfying chew.
This home version, inspired and adapted from Wenshu Yuan Monastery in Chengdu, skips the traditional smoking step for a much simpler method that still delivers authentic flavor. The magic comes from red fermented beancurd (nam yu) — its rich, subtly sweet umami is entirely different from the saltier white variety — paired with five-spice powder for warm aromatic depth.
This version: 6 ingredients, one steamer, 30 minutes.
🛒 Ingredients
| Dried tofu skin sheets (干腐皮 / 腐竹) | 6 sheets | 3 per pouch |
| Red fermented beancurd (南乳 / nam yu) | 1-2 pcs | Mashed |
| Five-spice powder (五香粉) | ½ tsp | |
| Sugar (糖) | 1 tsp | |
| White pepper (白胡椒粉) | ⅛ tsp | |
| Water (水) | 2 tbsp | Plus more if needed |
| Neutral oil (食用油) | As needed | For brushing and frying |
| Toothpicks (牙签) | 4-6 | To secure pouches |
👨🍳 Instructions
Step 1: Prepare the Tofu Skin
- Cut dried tofu skin sheets into rectangles about 8 × 15 cm (3 inches × 6 inches)
- Prepare 2 sets of 3 sheets each — you’ll make 2 pouches total
- If sheets feel brittle, don’t worry — the seasoning paste moisture will soften them
Step 2: Make the Seasoning Paste
- Mash red fermented beancurd smooth in a small bowl
- Stir in five-spice powder, sugar, and white pepper
- Gradually add water and mix until smooth and spreadable (like thick yogurt)
- Taste and adjust — aim for a savory-sweet balance with gentle warmth
Step 3: Layer and Fold the Pouches
- Lay one tofu skin sheet flat on a clean surface
- Spread a thin, even layer of seasoning paste across the whole sheet using a pastry brush
- Place the second sheet on top, spread another layer of paste, then add the third sheet and finish with paste on top
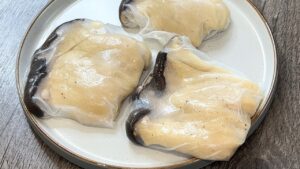
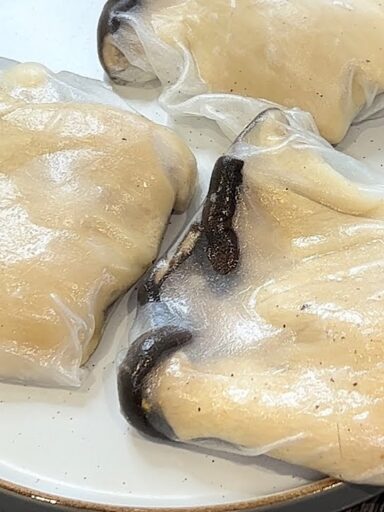
- Fold the stack into thirds like a letter: bring one side to center, fold the other side over
- Secure open edges with 1-2 toothpicks so layers stay together during steaming
Step 4: Steam
- Arrange folded pouches in a steamer basket (brush basket lightly with oil to prevent sticking)
- Steam over medium heat for 10 minutes
- Remove and let cool completely — this firms them up beautifully for frying
Step 5: Fry Until Crispy
- Pan-fry (classic): Heat a wok or pan over medium heat with enough oil for shallow frying. Test oil with a chopstick — gentle bubbles = ready. Fry until golden brown on both sides. Drain on wire rack or paper towels.
- Air-fry (lighter): Preheat air fryer to 320°F (160°C). Lightly brush basket and pouch tops with oil. Air-fry 4 minutes, flip, then 2-4 more minutes until golden and crispy.
Step 6: Serve
- Slice fried pouches into strips
- Serve warm over steamed rice, mixed into noodles, or as a snack
💡 Tips & Substitutions
| The seasoning paste tastes too salty on its own | This dish is designed as a topping for rice or noodles — the saltiness balances the grains. For standalone snacking, reduce to 1 piece of fermented beancurd or serve with fresh cucumber slices. |
| My tofu skin sheets are larger or irregular | Spread paste across a full large sheet, layer all three, then cut the assembled stack into 8×15 cm rectangles before folding. The paste helps everything hold together. |
| Can I make these ahead of time? | Yes — steam the pouches in advance and refrigerate for up to 2 days. Fry just before serving for maximum crispness. |
| Air-fried version turned chewy after cooling | That’s normal and still delicious! The texture shifts from crisp to pleasantly chewy. It makes a fantastic snack either way. |
📊 Nutrition
Per serving (serves 2 as a side dish)
~180 cal · Protein: 12g · Carbs: 6g · Fat: 12g · Fiber: 1g
Ingredients
Method
Notes
🌱 Why This Dish
Chai Ngor (斋鹅, literally ‘vegetarian goose’) is a cornerstone of Chinese Buddhist vegetarian cuisine, where the art of using soy-based ingredients to mimic the texture and flavor of meat reaches its most creative expression. The name doesn’t imply any actual goose — rather, it reflects the tradition of ‘mock meat’ (素) dishes that allowed Buddhist monks and lay followers to enjoy familiar textures and flavors while adhering to a plant-based diet.
In Malaysia and Singapore, Chai Ngor became a beloved fixture at vegetarian economy rice (杂饭) stalls, where golden pieces of this crispy tofu skin sit alongside other soy-based mock meats in stainless steel trays, waiting to be piled onto steamed rice. Its enduring popularity speaks to a simple truth: when plant-based cooking is done with skill and tradition, no one misses the meat.